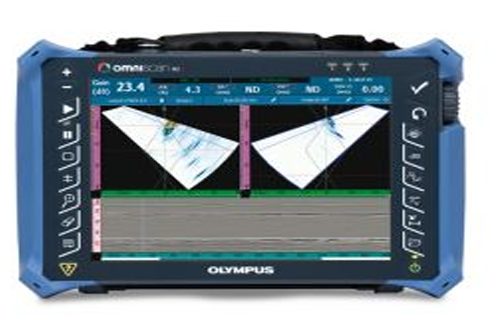
PHASED ARRAY ULTRASONIC TECHNIQUE Phased Array Ultrasonic Testing (PAUT) is an advanced nondestructive examination technique that utilizes a set of ultrasonic testing (UT) probes made up of numerous small elements, each of which is pulsed individually with computer-calculated timing. This technique can be used to inspect more complex geometries that are difficult and much slower to inspect with single probes. PAUT can be used to inspect almost any material where traditional UT methods have been utilized, and is often used for weld inspections and crack detection Compared to other forms of UT, PAUT has several advantages. PAUT can be conducted more quickly than other forms of UT, often within a fraction of a second. It can easily be used for repeat scans because it has a high degree of repeatability. By emitting beams of multiple different angles sequentially, PAUT is able to create detailed and accurate cross-sections of a part. It is also particularly useful in situations where there is less room for mechanical scanning because it's able to sweep the beam without moving the probe. TOFD is usually performed using longitudinal waves as the primary detection method. Ultrasonic sensors are placed on each side of the weld. One sensor sends the ultrasonic beam into the material and the other sensor receives reflected and diffracted ultrasound from anomalies and geometric reflectors. TOFD provides a wide area of coverage with a single beam by exploiting ultrasonic beam spread theory inside the wedge and the inspected material. When the beam comes in contact with the tip of a flaw, or crack, diffracted energy is cast in all directions. Measuring the time of flight of the diffracted beams enables accurate and reliable flaw detection and sizing, even if the crack is off-oriented to the initial beam direction. During typical TOFD inspections, A-scans are collected and used to create B-scan (side view) images of the weld. Analysis is done on the acquisition unit or in post-analysis software, positioning cursors to measure the length and through-wall height of flaws.